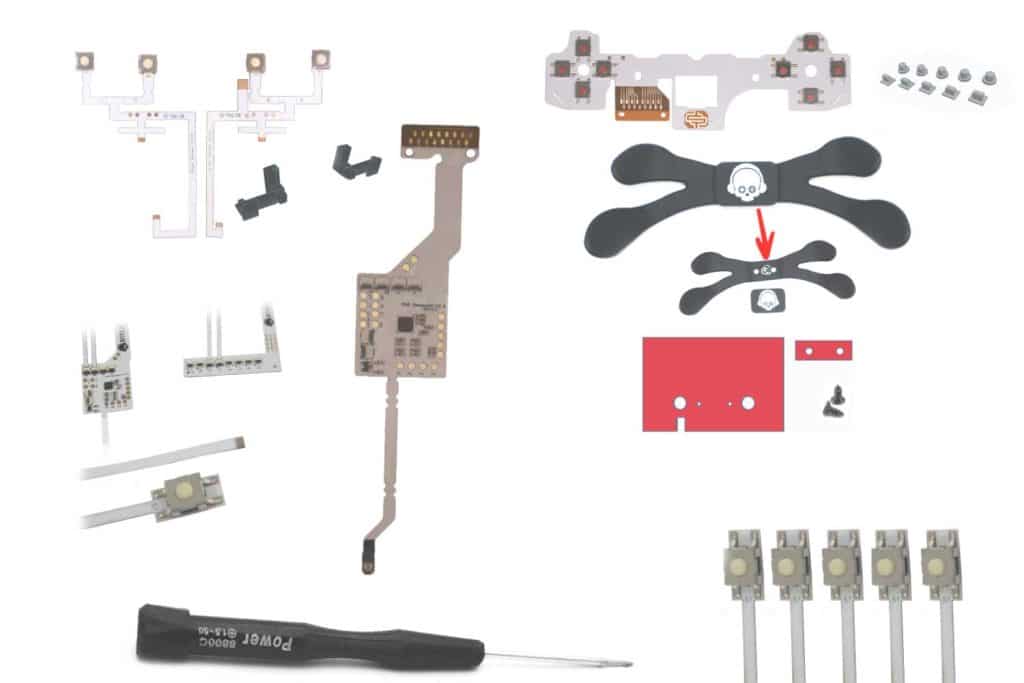
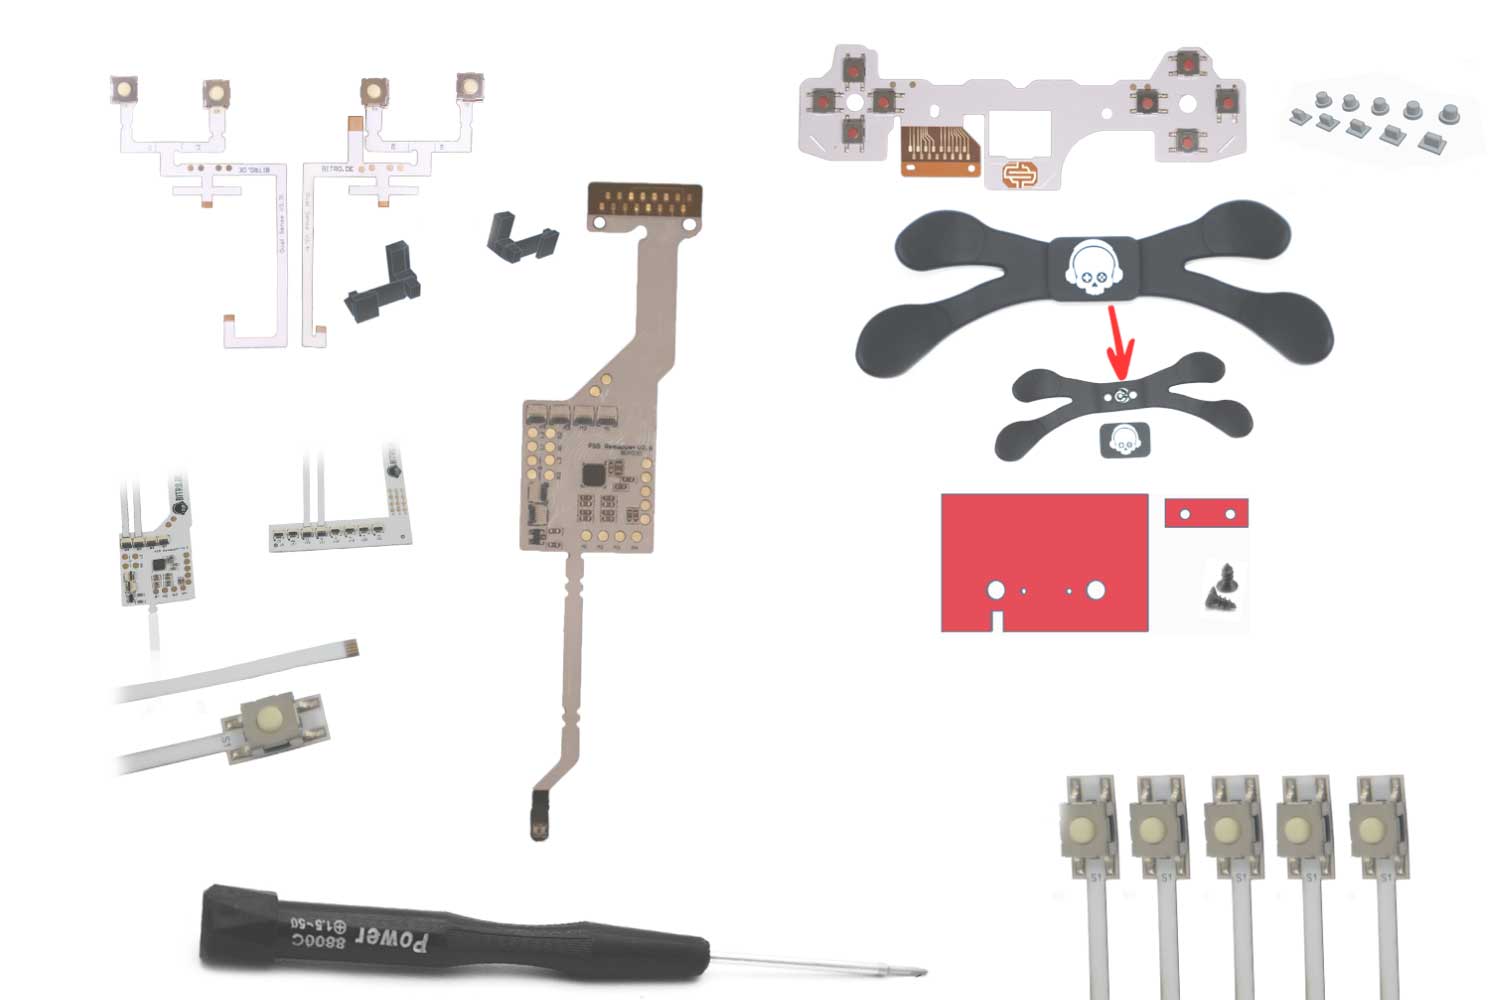
Would you like to equip your PS5 controller with additional paddles and smart triggers without having to solder? Then you’ve come to the right place! In this detailed guide, we’ll show you how you can easily install the PS5 paddle – with high-quality conversion parts from us. Whether you want to install smart triggers, remappers or paddles, we’ll guide you through the process step by step. This video and the instructions refer to the Scull V2 paddle, the new Scull V3 paddle is basically installed in the same way, but is already perfectly pre-bent and made of injection molding. This makes it more durable, more stable and looks better.
With the conversion parts from this PS5 Remapper & Paddle Set, you can customize your controller. We also provide links to other products that go perfectly with the conversion, such as the PS5 Custom Controller Configurator or the PS5 Case Configurator.
Step 1: Open and prepare the controller
Before you start installing the paddles and smart triggers, you need to open your PS5 controller.
- Unscrew the back of your controller. You will find the screws on the back, which you can loosen with a small Phillips screwdriver.
- Carefully remove the battery cover.
- Disconnect the flex cables that connect the triggers to the circuit board
If you only want to install the smart triggers (L2/R2, L1/R1), you can simply leave the flex cables for the triggers out and don’t have to plug them in again. This will save you some time.

Step 2: Use PS5 Remapper
The remapper is the centerpiece if you want to program the button assignment of your paddles. This allows you to assign your paddles individually and adapt them to your game.
- Remove the protective film from the adhesive surface on the remapper.
- Place the remapper on the contact surface in the controller and make sure that the holes are exactly on top of each other.
- Carefully turn the back of the controller over again and put it back on.
- Plug the flex cable back into the connection provided.
- Replace the battery cover and stick it over the battery so that everything is secure.
This step ensures that your controller processes the paddle signals correctly later on.

Step 3: Prepare and install smart triggers
There are a few important details to note when installing the smart triggers (L1, L2, R1, R2):
- Use pliers or tweezers to remove the rubber bands from the triggers.
- Take the flex cable for the Smarttrigger and carefully bend the cable from L1/R1 so that it fits better later.
- Remove the adhesive strips from the flex cables at L1, L2 and R1, R2.
- Insert the flex cables from above into the connection provided.
- Use a screwdriver to carefully align and position the cables.
- Insert the insert for the Smarttrigger behind the triggers.
- Carefully slide the button back over the insert and press the tubes into position with your thumb and screwdriver.
- If the button is at an angle, you can carefully pull it forward with your thumb until everything fits.
- Repeat this process on the other side.

Step 4: Adjusting the button area (milling out)
In order for the new Smarttrigger buttons to work properly, the area at the bottom of the L1 R1 buttons must be slightly adjusted:
- Carefully cut out the area under the button. This allows the button to click past the push-button and trigger without any problems.
- This adjustment is necessary for the smart triggers to develop their full function and provide crisp feedback.
Don’t worry, milling out is uncomplicated and ensures a clean function.

Step 5: Position paddles and drill holes
Now it’s time for the paddles that you want to mount on the back of the controller. We use a template to show you exactly where the holes need to be.
- Place the supplied template on the back of your controller.
- The outer two holes of the template are relevant for the paddle.
- The upper holes are for the grip housing, the lower ones for the standard housing.
- Select the appropriate holes depending on the housing and desired position.
- You will need a drill bit with a diameter of at least 3.5 mm for the middle hole through which the flex cables are fed. We recommend 4.5 mm for more clearance. For the paddle screws you need a 1.5mm drill bit
- Carefully position the drill and drill the hole.
This gives you the perfect basis for attaching the paddles cleanly and securely.

Step 6: Feed the flex cable through the hole and bend the paddle
The flex cable of the paddles must be fed through the drilled hole and then bent to fit:
- Hold the two flex cables from the paddle together, with the cable ends facing outwards.
- Carefully guide the flex cables through the drilled hole.
- Slide the paddle back and forth until you can see the screw holes clearly.
- To adapt the paddle perfectly to the shape of your housing, heat it with a hairdryer on a high setting for a few seconds until it becomes soft.
- Bend the paddle so that the buttons later lie exactly on the groove of the housing.
- If you don’t like the position, you can simply heat the paddle again and bend it again – this is no problem and can be repeated as often as you like.
With this method, your paddle sits perfectly and ergonomically on your controller.

Step 7: Connect flex cable and assemble housing
Once the paddle and smart trigger have been prepared, connect the flex cables and reassemble the controller:
- Plug the flex cables of the paddles into the corresponding connections in the controller.
- Hold the flex cables with your thumb and press them carefully onto the contacts so that they are firmly seated.
- Rotate the housing several times so that the flex cables form a nice spiral and do not get jammed.
- Replace the housing from the outside and secure it with the screws.
- Put the trigger buttons back in place.
Now your PS5 controller with paddles and smart triggers is ready to use!

Conclusion: Install PS5 paddle quickly and easily without soldering
With this conversion, you can significantly upgrade your PS5 controller – without any soldering! The combination of smart triggers, remapper and paddles offers you more control and comfort when playing. A particularly practical feature is that you can customize the button assignment thanks to the remapper.
If you want to go even further, you can also equip your controller with an LED kit with analogue sticks to customize it visually. Or you can use the PS5 Custom Controller Configurator to put together a completely customized controller.
A new PS5 case can also give your controller a fresh look and provide a better grip during long sessions.
With the high-quality conversion parts from bitro.de, you have everything you need to professionally and durably convert your controller. And the best thing is: you can do everything yourself, without soldering irons and complicated technology.
We hope you enjoy the conversion and, of course, playing games with your new PS5 controller!


